Smooth Draws: How to Clean a Vape Pod?
Have you ever found yourself puzzled over how to clean a vape pod? If you're nodding along, you're not alone! Cleaning your vape pods isn't just about upkeep but more about transforming every inhale into a flawless, flavor-packed experience. Whether you're deep into the vaping system scene or just stepping into the world of vaping devices, knowing how to spruce up your pod system can majorly boost its taste and lifespan. Please stick with us as we unpack the essentials of vape pod maintenance, helping you keep your vape experience as crisp as day one!

Benefits of Cleaning Vape Pods
Keeping your vape pods clean is both a routine chore and a crucial practice that amplifies every aspect of your vaping experience. But what exactly are the benefits of this regular cleaning?
1. Enhanced Flavor Delivery
Every vaper craves that perfect, unadulterated flavor from their favorite vape juice. However, residue from old sessions can accumulate inside the pod, creating a barrier that mutes and distorts the taste. Regular cleaning eliminates these residues, restoring the integrity of the e-juice’s flavor, which means every hit is as delicious as intended, free from the taint of yesterday’s flavors.
2. Extended Pod Lifespan
The internal components of a vape pod, especially those with replaceable coils or a built-in coil, are susceptible to wear from accumulated debris and e-liquid. This buildup can corrode connections and degrade materials, leading to inefficiencies or failure. Routine cleaning as a form of preventive care that keeps your pod system healthier and longer, may prevent this decay, thereby extending the pod's functional lifespan.
3. Prevention of Leaks and Clogs
Leaks and clogs are the bane of any vaper’s existence, often resulting from blocked airflow or over-saturated wicks. A clean vape pod ensures that air and liquid flow freely without obstruction. Regular cleaning can keep these common issues at bay.
4. Avoidance of Harmful Contaminants
A moist, dirty vape pod can be a breeding ground for bacteria and mold, posing potential health risks. Regular cleaning, particularly with rubbing alcohol, sterilizes the pod, eradicating these pathogens before they can pose a threat.
5. Optimal Vapor Production
Accumulation within the vape pod can narrow the pathways through which vapor travels, diminishing cloud production. By assuring these pathways are clear through thorough cleaning, your vape pod system can operate at its maximum efficiency, providing denser, more satisfying vapor clouds and enhancing the overall pleasure of your vaping sessions.
6. Safety from Electrical Issues
The electronics within your vape pod system are delicate and can be easily damaged by exposure to e-liquids. A spill or buildup can cause a short circuit, which ruins your pod and provokes hazards. Regular cleaning helps prevent e-liquids from reaching these critical areas, maintaining their electrical integrity.

How to Properly Clean a Vape Pod?
Maintaining a pristine vape pod is key to optimal functionality and an unparalleled vaping experience. Here’s a detailed step-by-step guide to thoroughly cleaning a vape pod:
Step 1: Disassemble Your Pod Vape
Carefully detach the pod and other components from the main body of your vape device and confirm that the device is turned off before you start disassembly to prevent any accidental activation or leakage. This step is crucial as it allows you to access every part that may harbor e-liquid residues, dust, or debris.
How to Remove Vape Juice from Pod?
1. Empty the Pod:
Hold the pod over a sink or a waste bin. If your pod has an open system (one that can be manually filled), simply tip it upside down and gently tap or shake it to let all the liquid flow out. For pods with a smaller refill hole, you might need to gently squeeze or press on the sides of the pod (if flexible) to help the liquid exit.
2. Wipe Down the Interior:
After the bulk of the vape juice has been removed, there might be some residue left inside. Take a small piece of paper towel or a cotton swab to wipe around the inside of the pod. Be gentle to avoid damaging any internal components like the wicking material.
3. Check for Residue:
Look inside the pod to make sure all the liquid and any visible residue are removed. Use a flashlight to inspect the corners and crevices where gunk might accumulate. Remember, a clean pod should not have any sticky spots or discoloration from the e-liquid.
Step 2: Empty and Rinse the Pod
Rinse the pod with warm water to remove initial residues. Lightly agitate the water inside the pod to ensure it reaches all corners and crevices. For pods with a built-in coil, guarantee that the coil is not submerged or exposed to heavy water flows, which can damage the material.
Step 3: Deep Clean with Rubbing Alcohol
After rinsing, take a cotton swab or paper towel dampened with rubbing alcohol to wipe down the inside of the pod. Rubbing alcohol is excellent for dissolving stubborn e-liquid buildups and disinfecting the surface, ensuring no microbial contaminants are left behind. Carefully clean around delicate parts like the connector pins and the mouthpiece to avoid damage.
Step 4: Thorough Drying Process
Completely dry the pod to prevent any moisture-related issues like a short circuit. Allow the pod to air dry in a well-ventilated area or use a dry paper towel to blot out gently any excess moisture inside the pod. There should be no lint or fibers left behind from the paper towel.
Step 5: Care for Coils and Mouthpiece
Use dry cotton swabs to remove any residue for vape coils and mouthpieces. Coils often accumulate gunk that affects performance and flavor, and sometimes a replacement is more beneficial than trying to clean an overly used coil.
Step 6: Reassemble and Test the Device
Once all components are clean and completely dry, reassemble your vape device. Check every part fits snugly and securely. Before refilling with vape juice, conduct a dry run by firing the vape pod to confirm all electrical components function correctly without any leakage or misfires.
Adhering to these meticulous cleaning practices is a cornerstone of a superior vaping system, essential for any conscientious vaper looking to maximize their device’s efficiency and safety.

Is It OK to Clean a Vape Pod with Water?
While water is a seemingly harmless cleaning agent, there are important considerations to avoid damaging your vaping device. Let’s delve into the details:
Water for Cleaning Vape Pods
Water, especially warm water, can be effective for rinsing out simple e-liquid residues from your pod. It's extremely useful for flushing out old flavors, assuring that your next fill gives you the true taste of your chosen vape juice.
However, Caution is Necessary
1. Avoid Electronics: Water should never come into contact with the electronic components of your pod system, such as the battery or electrical contacts to avoid corrosion or a short circuit.
2. Use Distilled Water: Opt for distilled water rather than tap water since tap water contains minerals that can deposit inside the pod, potentially affecting the performance and flavor.
3. Rinse with Care: Gently rinse the pod with lukewarm distilled water. Avoid using high pressure, which could force water into areas that are difficult to dry.
4. Dry Thoroughly: Allow the pod to air dry in a well-ventilated area. You can also pat it dry with paper towels, being sure to absorb all moisture. The pod must be completely dried before reassembly.
Is It Safe to Use Alcohol for Cleaning Vape Pods?
Rubbing alcohol is a popular choice for cleaning vape pods due to its effective cleaning properties and quick evaporation rate. Here’s a comprehensive look at using alcohol to clean your vape pods, highlighting its benefits and necessary precautions.
Benefits of Using Rubbing Alcohol
Rubbing alcohol is highly favored for several reasons:
1. Efficient Cleaning:
Alcohol is excellent at dissolving vape juice residues and other gunk that water alone can't remove. It’s particularly effective for cleaning sticky and oily substances.
2. Rapid Evaporation:
Unlike water, alcohol evaporates quickly, which significantly reduces the risk of moisture damaging your vaping system. This quick drying time helps the pod interior be dry and safe to use shortly after cleaning.
3. Antibacterial Properties:
Alcohol naturally disinfects, helping to eliminate bacteria and other pathogens that might have accumulated in your pod, thus promoting a healthier vaping experience.
Precautions When Using Alcohol
While alcohol is beneficial, it’s crucial to use it safely:
1. Use the Right Type:
Opt for isopropyl alcohol 70% or higher in concentration for effective cleaning power and optimal evaporation.
2. Avoid Certain Plastics and Rubber:
Check your pod’s material compatibility before applying alcohol, since alcohol can cause certain types of plastic and rubber to deteriorate over time.
3. Apply with Care:
Instead of pouring alcohol directly into the pod, use a cotton swab or a small piece of paper towel to apply it. It gives you more control and helps prevent alcohol from reaching areas where it could cause damage, such as the battery or electrical contacts.
4. Ventilation is Key:
Use alcohol in a well-ventilated area to avoid inhaling fumes, which can be potent and potentially harmful.

Can You Wash and Reuse Vape Pods?
The answer depends on the type of pod you use — disposable or refillable.
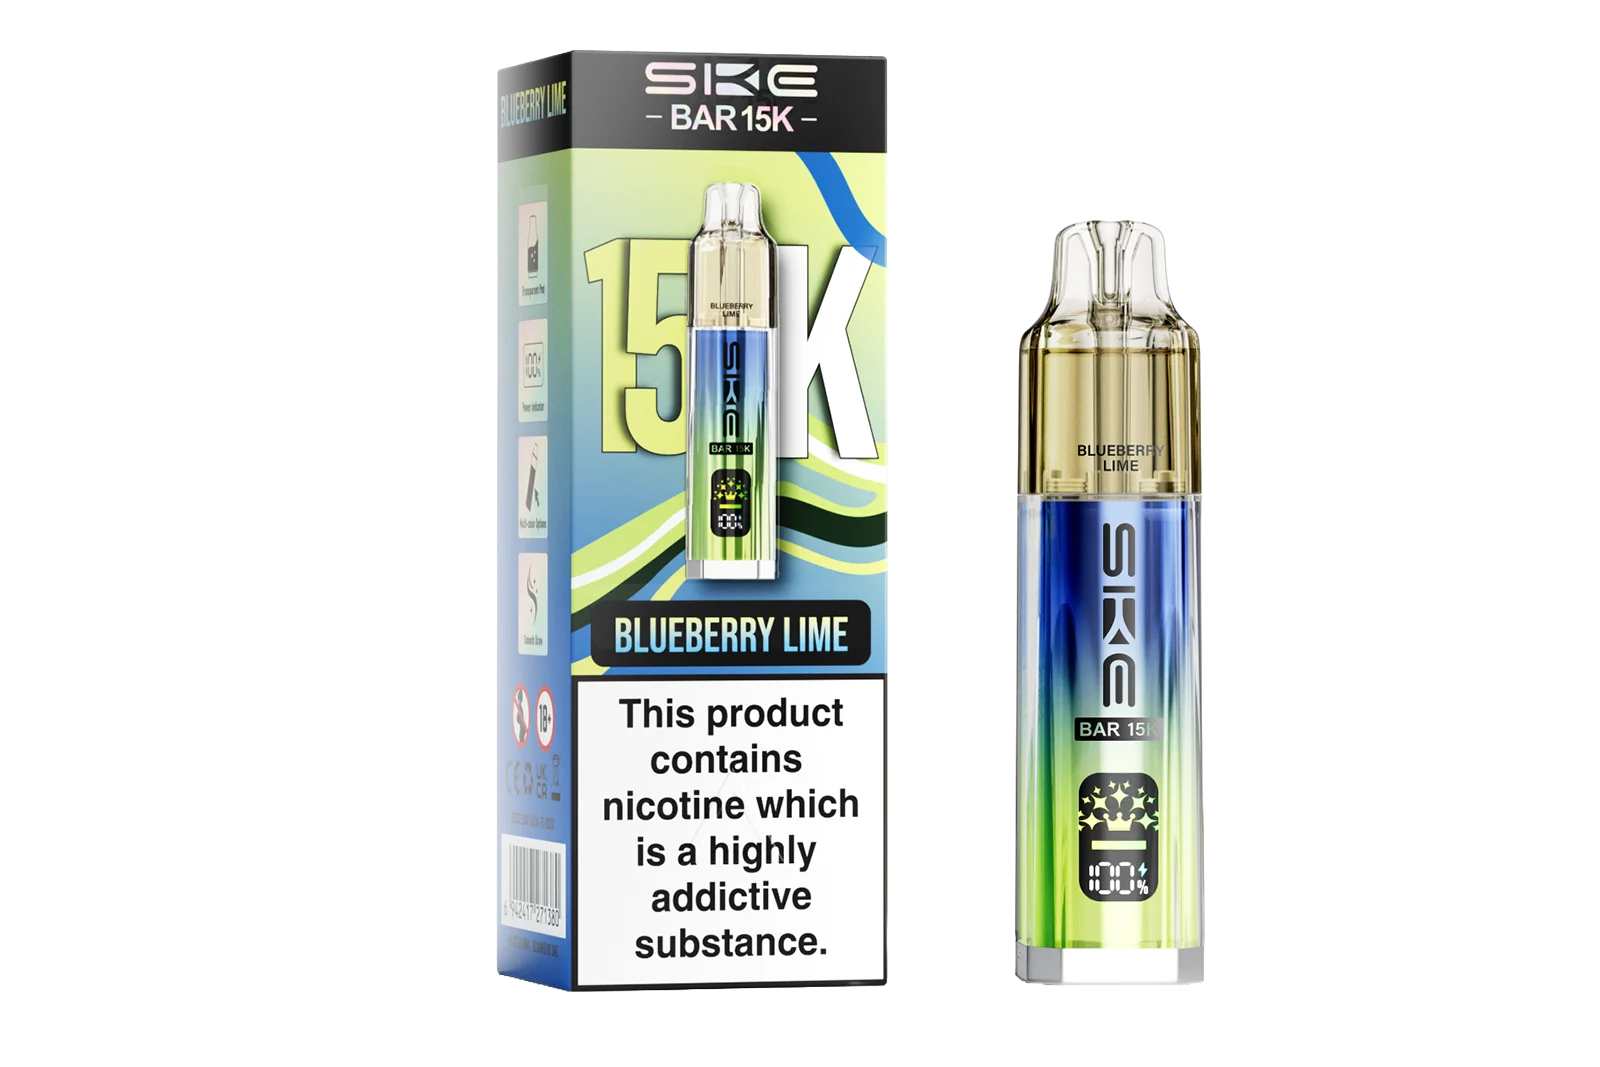
- Disposable Pods: These pods are intended for one-time use with a pre-filled amount of vape juice, such as the Crystal 4in1 or Crystal Plus. Once the e-liquid is depleted, the pod is meant to be disposed of. These cannot be effectively washed or refilled due to their design and potential safety hazards when tampered with.
- Refillable Pods: Refillable pods allow vapers to refill the vape juice, offering more flexibility in flavor choices and the potential for cost savings. These pods can be washed and reused multiple times, provided they are properly maintained.
How Often Should You Clean a Vape Pod?
The cleaning frequency can vary. Here’s a detailed guide to help you determine the best cleaning schedule for your vape pods.
Factors Influencing Cleaning Frequency
- Usage Frequency: The more often you use your pod, the more frequently it will need cleaning.
- Type of Vape Juice: Darker, sweeter e-liquids tend to leave more residue than lighter ones which can clog the pod and affect the flavor.
- Vape Pod Type: Refillable pods require more frequent cleaning compared to disposable ones.
Recommended Cleaning Intervals
- Regular Users: If you vape daily, consider cleaning your vape pod at least once a week.
- Occasional Users: For those who vape less frequently, cleaning the pod every two to three weeks might be sufficient. However, closely monitor the performance and taste of your vape, as these are good indicators that cleaning might be necessary.
- After a Flavor Change: Advice to clean your pod every time you switch to a new flavor, especially if the previous flavor was very strong or sweet.

What Are the Signs That My Vape Pod Needs Cleaning?
It's not always obvious when a cleaning is due. Recognizing the signs that your vape pod needs cleaning can help you address issues before they worsen, keeping your vaping system in optimal condition.
1. Reduced Vapor Production
It could signal that residue is building up in your pod, obstructing the airflow, or affecting the heating element.
2. Burnt or Unpleasant Taste
It can be due to gunk built up on the coils or wicking material, which burns when heated. Cleaning or replacing the coil can eliminate this issue.
3. Leaking Issues
Leaks can occur when e-liquid seeps through gaps that should be sealed, often due to the accumulated residues infiltrating the tightly fitted components.
4. Clogging
If your pod vape feels harder to draw on than usual, or if seeming like the airflow is restricted, the pod might be clogged. This is often caused by thick, sticky vape juice residue closing off the air pathways within the pod.
5. Visual Residue Inside the Pod
If you can see residue or discoloration, particularly around the connection points and inside the pod chamber, it indicates cleaning is necessary.
6. Frequent Coil Burnouts
If coil replacement is more frequent than usual, it could be due to excessive buildup affecting the pod’s functionality.
7. Unusual Noises
Gurgling sounds or other unusual noises during use can imply a buildup of liquid and residue inside the pod.
8. Long Periods of Inactivity
If you haven’t used your vape device for an extended period, cleaning the pod before using it again is a good practice. E-liquid can thicken or degrade over time, which can cause performance issues.
9. Change in Flavor Intensity
When flavors feel muted or different from what you’re accustomed to, it might be because the pod needs cleaning. Residue buildup can prevent the full spectrum of flavor notes from being delivered effectively.
Understanding how to clean a vape pod effectively is essential for anyone planning to enhance their vaping experience, whether you're a seasoned enthusiast or new to the scene. Via the detailed guidelines outlined in this guide, you can ensure your pod remains in top condition, providing you with enjoyable, flavorful vaping sessions every time.
TABLE OF CONTENTS
- Benefits of Cleaning Vape Pods
- 1. Enhanced Flavor Delivery
- 2. Extended Pod Lifespan
- 3. Prevention of Leaks and Clogs
- 4. Avoidance of Harmful Contaminants
- 5. Optimal Vapor Production
- 6. Safety from Electrical Issues
- How to Properly Clean a Vape Pod?
- Step 1: Disassemble Your Pod Vape
- Step 2: Empty and Rinse the Pod
- Step 3: Deep Clean with Rubbing Alcohol
- Step 4: Thorough Drying Process
- Step 5: Care for Coils and Mouthpiece
- Step 6: Reassemble and Test the Device
- Is It OK to Clean a Vape Pod with Water?
- Water for Cleaning Vape Pods
- However, Caution is Necessary
- Is It Safe to Use Alcohol for Cleaning Vape Pods?
- Benefits of Using Rubbing Alcohol
- Precautions When Using Alcohol
- Can You Wash and Reuse Vape Pods?
- How Often Should You Clean a Vape Pod?
- Factors Influencing Cleaning Frequency
- Recommended Cleaning Intervals
- What Are the Signs That My Vape Pod Needs Cleaning?
- 1. Reduced Vapor Production
- 2. Burnt or Unpleasant Taste
- 3. Leaking Issues
- 4. Clogging
- 5. Visual Residue Inside the Pod
- 6. Frequent Coil Burnouts
- 7. Unusual Noises
- 8. Long Periods of Inactivity
- 9. Change in Flavor Intensity

