How to Tell When A Vape Coil is Bad: A Comprehensive Guide
Changing the vape coil is as crucial as finding that perfect e-liquid flavor. In this guide, we'll explore the signs of how to tell when a vape coil is bad and the replacement steps for a vape coil change. Let's ensure your vaping experience is always at its peak!
Why Change Your Vape Coil Regularly?
Firstly, let's understand why regular replacement of vape coil is essential. Vape coils, play a crucial role in heating the e-liquid and transforming it into delightful vapors. Regularly changing the vape coil not only ensures a consistent and satisfying vaping experience, preventing issues like a burnt taste, off-flavor, or reduced vapor production when it reaches the end of its lifespan but also contributes to the longevity of an entire vaping device by preventing potential damage caused by continued use of a degraded vape coil.
How to Tell When Vape Coil Is Bad?
1. Burnt Taste
The most glaring sign that your vape coil is bad is the dreaded burnt taste during inhalation, which occurs when the coil's cotton deteriorates over time or if vapers haven't properly primed a new vape coil. If your vape starts resembling a charred campfire, it's a clear signal – it's time to replace a new coil.
2. Off-flavor E-liquid
Another indicator of a failing vape coil is when your favorite e-liquid doesn't taste as delightful as it once did since a deteriorating vape coil can impact both the taste and quality of the vapor. If your taste buds are missing the usual flavor profile, it's a subtle nudge to swap out the coil.
3. Reduced Vapor Production
If you notice a decline in the amount of vapor the vaping device produces, it's a sign that the vape coil might be past its prime. As coils age, their ability to vaporize e-liquid diminishes. So, if your once-cloud-churning vape seems to have lost its mojo, consider it a cue for a new vape coil replacement.
4. Darkening E-liquid
Keep an eye on the e-liquid. Residue buildup in the vape coil, resulting from prolonged use, can taint the e-liquid and alter its color. If your once-clear e-liquid now resembles a dark potion, it's time for a coil switch and a thorough tank cleaning.
5. Leaking or Gurgling
A leaky or gurgling vape is often a telltale sign that a vape coil needs attention. Deteriorating cotton can lead to excess vape liquid entering the coil, causing leaks or gurgling noises. While other issues can contribute to the leaky or gurgling, replacing the vape coil is often the first line of defense.
6. Flashing Lights and 'Atomiser Error'
It's the vaping device saying something's amiss with its vape coil. Check the vape coil installation and connections, ensuring they are free of e-liquid or residue. If the problem persists, changing the vape coil is likely the solution.
7. Frequent 'Dry Hits'
It occurs when the wicking material can't supply enough e-liquid to the vape coil, resulting in unpleasant, dry-tasting hits. If this problem persists, replacing the coil is advisable. Additionally, ensure that your e-liquid is compatible with your vaping device.
How Long Do Vape Coils Last?
The lifespan of a vape coil varies based on usage patterns, wattage, puff frequency, puff duration, and e-liquid type. On average, vape coils last one to two weeks for most vapers, but this duration can vary significantly based on individual vaping habits and preferences. Occasional vape users might get a month or more, while heavy vapers may find themselves changing vape coils every few days.
How to Replace Your Vape Coil
Now that we've deciphered the signs, let's tackle the how-to for replacing a vape coil. Follow these simple steps:
1. Disassemble Vaping Device
Commence the vape coil replacement process by gently unscrewing the vape battery from the tank, and then strategically positioning the tank upside down on a paper towel to prevent any potential mess or spillage.
2. Empty the E-liquid
Before exchanging vape coils, ensure the vape tank is devoid of e-liquid by thoroughly emptying it, and for effective cleansing, rinse the vape tank under running water to flush out any residual e-liquid remnants.
3. Pre-soak New Coil
Avoid dry hits by ensuring the wicking material of your new vape coil is pre-soaked with 5-10 drops of the specific e-liquid you intend to fill your tank with, preventing any undesirable mixing of flavors during the transition.
4. Swap the Coils
Effortlessly transition to new vaping by unscrewing the old vape coil and seamlessly replacing it with the pre-soaked new coil, ensuring a clean process with the convenience of a nearby paper towel.
5. Reassemble and Refill
Reassemble the vape tank and battery, and replenish the tank with your preferred e-liquid, ensuring a seamless experience by checking for any potential leaks before indulging in your preferred e-liquid.
Types of Replacement Vape Coils
Understanding the type of vape coil your vaping device requires is crucial to avoid unnecessary expenses. Resistance is key when choosing replacement vape coils. Lower-resistance vape coils provide warmer vapors, while higher-resistance ones offer a cooler experience. Consider your preferences before buying replacement vape coils in bulk to maximize your vaping pleasure.
Popular Replacement Vape Coils
Pre-built Coils (Coil Heads): Convenient and widely preferred for ease of use.
Custom-Built Coils: Offer greater control for advanced vapers seeking a personalized experience.
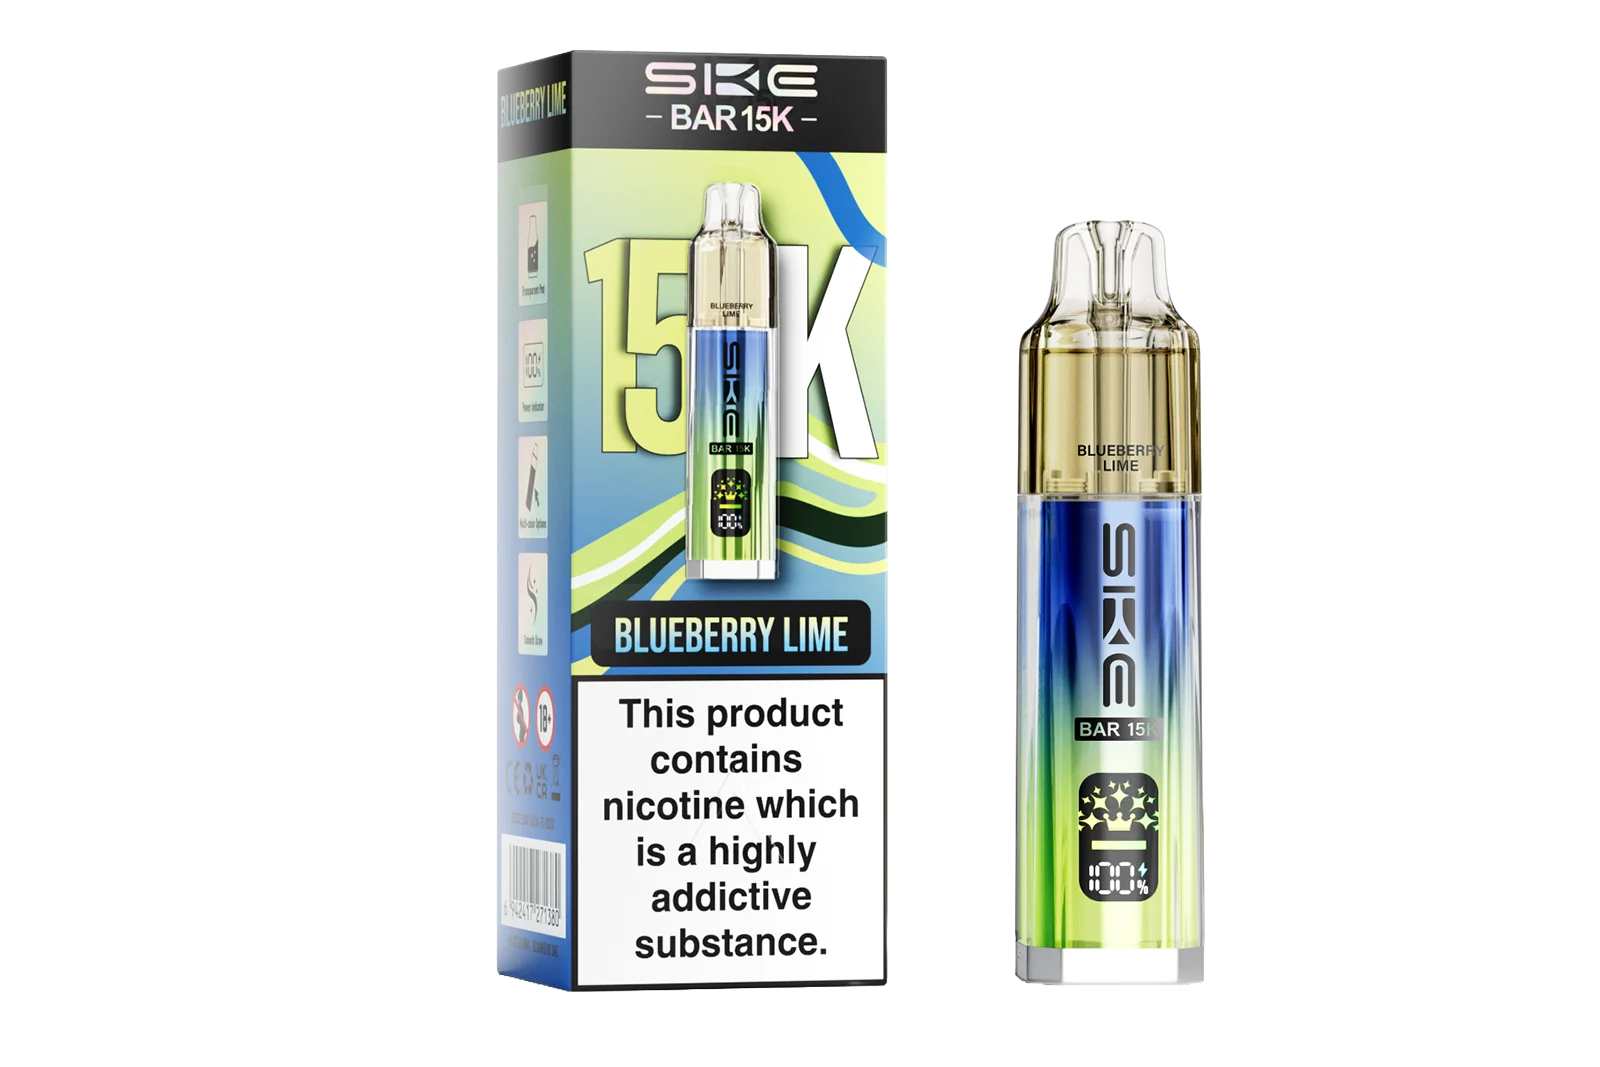
Mesh Coils: Provide enhanced flavor and vapor production with a mesh design. SKE Crystal Bar, Crystal Super Max, and SKE Crystal Duo adopt this type of vape coil.
Ceramic Coils: Known for durability and clean flavor production.
Clapton Coils: Feature a complex wire structure for increased surface area and flavor.
Temperature Control (TC) Coils: Suitable for vaping devices with temperature control capabilities.
Ni200 Coils: Specifically designed for temperature control vaping using nickel wire.
Stainless Steel (SS) Coils: Versatile and compatible with both wattage and temperature control modes.
In the ever-evolving world of vaping, maintaining a vape coil is a small yet crucial task. Recognize the signs of a bad vape coil and master the art of replacement steps to ensure every inhale is a delightful experience. Be proactive, don't wait for the burnt taste or gurgling sounds to escalate!

FAQs:
Q1: Do vape coils go bad if not used?
Vape coils can indeed degrade over time even if they are not actively used, as factors such as exposure to air, changes in temperature, and the natural breakdown of materials can contribute to the deterioration of the coil's components, potentially impacting its performance.
Q2: Can you visually tell if a coil is burnt?
Yes, visually identifying a burnt vape coil is often possible; signs include discoloration of the coil, charred or darkened wicking material, and a generally degraded appearance compared to a new or properly functioning vape coil.
Q3: Is it okay to vape with a burnt coil?
While it is technically possible to vape with a burnt vape coil, it is not recommended.
As it can result in an unpleasant taste, potential health risks, and damage to the coil and vaping device. Advise to replace the coil promptly and regularly.
Q4: What are the easiest techniques to clean vaping coils?
The simplest techniques involve rinsing vaping coils under warm water, allowing them to air-dry thoroughly, or soaking them in a mixture of warm water and a small amount of isopropyl alcohol, followed by thorough drying before reinstallation into the vaping device.
Q5: How long should you wait to vape after changing the coil?
After changing the coil in your vape, it's advisable to wait for a few minutes, typically around 5 to 10 minutes, to allow the new coil's wicking material to fully saturate with e-liquid.
TABLE OF CONTENTS
- Why Change Your Vape Coil Regularly?
- How to Tell When Vape Coil Is Bad?
- 1. Burnt Taste
- 2. Off-flavor E-liquid
- 3. Reduced Vapor Production
- 4. Darkening E-liquid
- 5. Leaking or Gurgling
- 6. Flashing Lights and 'Atomiser Error'
- 7. Frequent 'Dry Hits'
- How Long Do Vape Coils Last?
- How to Replace Your Vape Coil
- 1. Disassemble Vaping Device
- 2. Empty the E-liquid
- 3. Pre-soak New Coil
- 4. Swap the Coils
- 5. Reassemble and Refill
- Types of Replacement Vape Coils
- Popular Replacement Vape Coils
- FAQs:
- Q1: Do vape coils go bad if not used?
- Q2: Can you visually tell if a coil is burnt?
- Q3: Is it okay to vape with a burnt coil?
- Q4: What are the easiest techniques to clean vaping coils?
- Q5: How long should you wait to vape after changing the coil?

