DECODING OHMS: GUIDE TO COIL RESISTANCE IN VAPING
So you just got your first vape and are loving it so far. But then you start hearing vapers throw around terms like "sub-ohm" and "high resistance" and it gets confusing. What the heck are ohms, and why do they matter anyway? Don't worry, you're not alone. Understanding coil resistance is crucial for any vaper, but it doesn't need to be complicated.
In this beginner's guide, we'll break down the basics of ohms in clear terms. You'll learn what ohms are, how they impact your vaping experience, and how to choose the right coil resistance for your needs. Let's start unwinding the mysteries of ohms together!

What Are Ohms?
Ohms refer to the amount of electrical resistance in a coil, such as the coil inside your vape atomizer. Resistance is essentially how easily electricity can flow through the metal wires of your coil. The lower the ohm rating, the less resistance, and vice versa.
Resistance is measured in ohms, represented by the omega symbol Ω. The coil's material, thickness, and number of wraps all affect the ohm rating. Generally, thicker wires and more coil wraps increase resistance.
Learn more: What are Ohms On a Vape?
How Do Ohms Affect My Vape?
The ohm rating of your coil has a direct impact on your vaping experience. Higher resistance coils need less power and produce less vapor. But they provide better flavor reproduction. Lower resistance coils need higher power and create voluminous clouds, but may sacrifice flavor subtlety.
Ohms also significantly influence factors like the optimal wattage range, vapor temperature, and battery life. High resistance coils allow you to vape at lower wattages without scorching your juice. Low resistance sub-ohm coils need high wattage to avoid a cool, weak vape. In terms of battery life, high resistance conserves battery, while low resistance drains it faster.
To access more content: Why Are My Vape Clouds Weaker Than Those Of Others?
Low Ohm (Sub-Ohm) vs. High Ohm Vaping
Now let's compare low resistance sub-ohm vaping to high resistance vaping.
Sub-ohm coils have a resistance of less than 1 ohm, usually between 0.1 to 0.8 ohms. At these low resistances, substantially more power is needed to heat up the coil and produce vapor. The result is massive, dense clouds. But that vapor production comes at the cost of quickly draining batteries.
High resistance coils above 1 ohm provide a tighter draw and emphasize flavor over vapor production. The experience won't be as visually impressive, but you'll get more nuance from your e-liquids.

Finding the Right Wattage Based on Resistance
One of the trickiest parts of understanding ohms is finding the ideal wattage range to pair with your coil's resistance. Too low, and the coil won't fire up sufficiently. Too high, and you risk burning the coil or muting the flavor.
As a very general guideline:
- 1.0 - 1.5 ohm coils work best from 15 to 25 watts.
- 0.8 - 1.0 ohm coils fire best from 20 to 35 watts.
- 0.5 - 0.8 ohm coils work well from 30 to 50 watts.
- Under 0.5 ohm sub-ohm coils need at least 50 to 100+ watts.
Check your coil's specifications for its recommended wattage range. Be prepared to experiment to find your optimal settings. Vaping is a personalized journey!
Read more: Best Coils for Chain Vaping- The Ultimate Guide.
Ohm Terminology Cheat Sheet
Here's a quick glossary of keyterms relating to coil resistance so you can talk ohms like a pro:
- Sub-ohm: Coils under 1 ohm resistance, requires high wattage.
- Above-ohm: Coils over 1 ohm resistance, allows lower wattage vaping.
- Low resistance: Coils typically under 0.5 ohms. Offer massive vapor production.
- High resistance: Coils usually over 1 ohm. Enhance flavor and efficiency.
- Kanthal: A common wire material for coils, allows easy resistance adjustments.
- Temp control: Advanced mods that let you lock coil resistance and set temperature.

Choosing the Best Coil Resistance Type for You
Now it's just a matter of choosing the right coil ohm rating for your vaping needs. Here are some tips:
- Consider your preferred e-juice types and flavors. High resistance enhances subtleties.
- Think about your ideal vapor production level. Sub-ohm coils churn out intense clouds.
- Factor in how much airflow you like. High resistance pairs better with tighter draws.
- Remember that lower ohms drain batteries faster than higher resistances.
- Check if your mod can handle low resistance sub-ohm coils and higher wattages.
Don't be afraid to experiment with different ohm coils in your atomizer. You may be surprised to find you enjoy high resistance mouth-to-lung hits or the immersive clouds of sub-ohm vaping. That's the fun of finding your perfect vape! Click to know more: What is the best ohm for vape?

How to Change Ohms on A Vape
Changing the ohms (resistance) on your vape involves adjusting the coil in your device. Since the resistance is determined by the coil, you can change the ohms by swapping out the coil for one with a different resistance or by using a rebuildable atomizer.
1. Use a Different Coil
Step 1: Check Compatibility
- Before you begin, please confirm that your vape mod (the device that powers the coil) can handle the resistance range of the new coil. Vape mods have a minimum and maximum resistance they can support, usually indicated in the device's user manual. For example, a device might support coils between 0.1 ohms and 3.0 ohms.
Step 2: Choose Your Coil
- Low-Resistance Coils (Sub-Ohm): These coils, usually between 0.1 and 0.9 ohms, cater to vapers who prefer large vapor clouds and a more intense flavor experience. They're best suited for Direct-to-Lung (DTL) vaping, where you inhale the vapor directly into your lungs, similar to breathing in.
- High-Resistance Coils: Coils with resistances above 1 ohm suit Mouth-to-Lung (MTL) vaping, which simulates the sensation of smoking a traditional cigarette. These coils produce less vapor, a stronger throat hit, and use less power, making them more efficient.
Step 3: Replace the Coil
- Disassemble the Tank: Unscrew the tank from the mod and then unscrew the base of the tank where the coil is located. Be careful with glass tanks, as they can be fragile.
- Remove the Old Coil: Unscrew the old coil from the base, using a paper towel or cloth for better grip if needed, and discard it if it's burnt or degraded.
- Install the New Coil: Screw the new coil into the tank base, ensuring it's snug without overtightening, and align it correctly with the tank's airflow system.
Step 4: Prime the Coil
- Saturate the Cotton: Apply a few drops of e-liquid directly onto the exposed cotton of the coil before assembling the tank to saturate the wick fully before vaping.
- Let It Soak: After filling the tank, let it sit for 5-10 minutes to allow the e-liquid to thoroughly soak into the cotton, a crucial step, especially with thicker high-VG e-liquids that take longer to absorb.
Step 5: Adjust Settings
- Wattage or Voltage: Start with a lower wattage or voltage than recommended and gradually increase it to find the sweet spot, preventing coil burnout and allowing for a tailored vaping experience.
- Temperature Control: If your device has temperature control, you can set a maximum temperature to protect the coil from overheating, which is especially beneficial for sub-ohm coils.
2. Using a Rebuildable Atomizer (RDA/RTA)
Step 1: Select Wire Type
- Kanthal: It's a popular choice due to its durability and ease of use, with a relatively high resistance that suits both sub-ohm and higher-resistance coils.
- Nichrome: With a lower resistance and faster heating than Kanthal, it's often used in sub-ohm builds because of its efficiency in large vapor cloud productions.
- Stainless Steel: Versatile for use in both wattage and temperature control modes, it offers lower resistance than Kanthal, balancing flavor and vapor production.
Step 2: Choose the Wire Gauge
- Thicker Wire (Lower Gauge Numbers): For example, 22 or 24-gauge wire is often used for sub-ohm builds due to its lower resistance, which heats up quickly and produces a warmer vape with larger clouds.
- Thinner Wire (Higher Gauge Numbers): Higher resistance wires, like 28 or 30-gauge, are suitable for higher-resistance coils, heating up slowly for a cooler vape and using less power.
Step 3: Wrap the Coil
- Wraps: More wraps increase the resistance, while fewer wraps decrease it. For example, a 6-wrap coil might have a resistance of 0.5 ohms, while an 8-wrap coil might have 0.8 ohms.
- Coil Diameter: A larger diameter increases the coil's surface area, which can enhance flavor and vapor production but may also increase resistance. Smaller diameters generally result in lower resistance.
Step 4: Measure Resistance
- Ohm Meter: Use an ohm meter to measure the resistance of your coil to ensure safety and compatibility with your vape mod.
- Vape Mod: If you don't have an ohm meter, many vape mods have a built-in ohm reader that displays the resistance when you attach the coil.
Step 5: Install the Coil
- Position the Coil: Place the coil in the atomizer deck, ensuring it's centered without touching any other metal parts to avoid short circuits.
- Tighten Screws: Secure the coil leads under the deck screws to confirm it's stable and won't move when you gently press it.
- Trim Excess Wire: Use wire cutters to trim any excess wire from the leads to prevent shorts.

Understanding Ohms Unlocks Your Ideal Vaping Experience
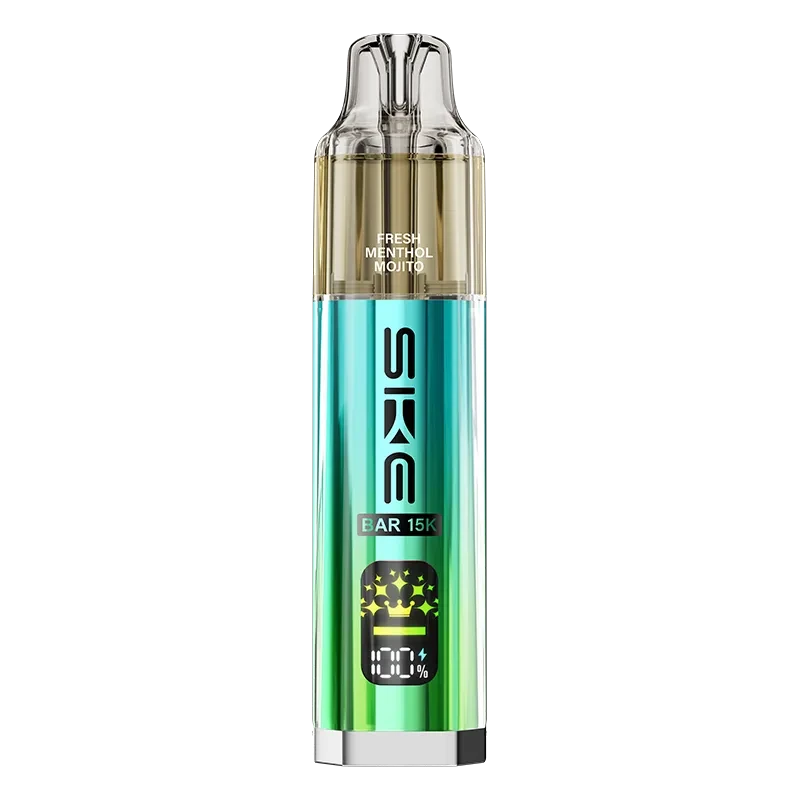
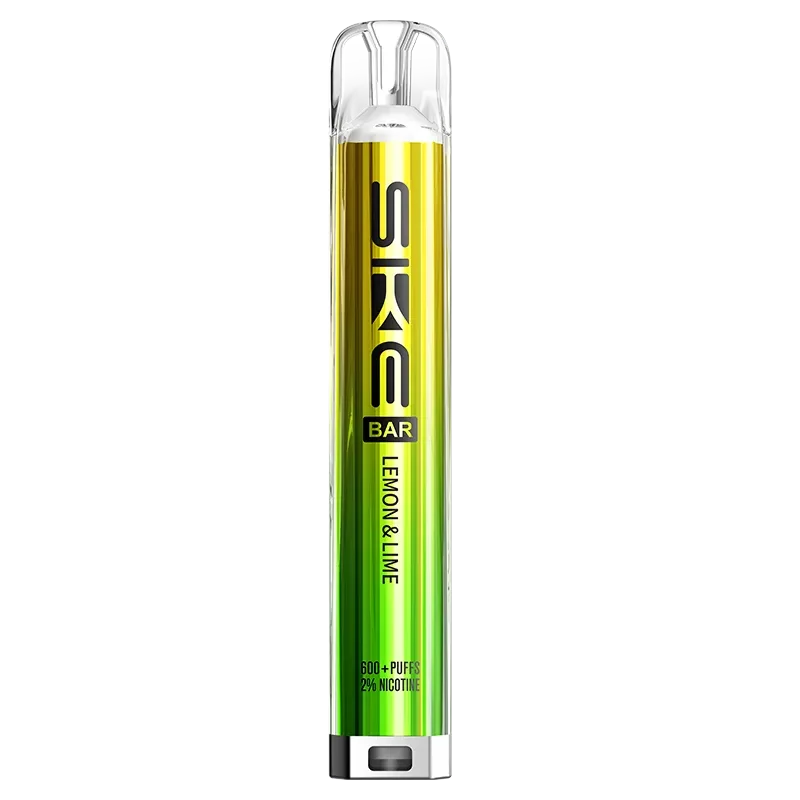
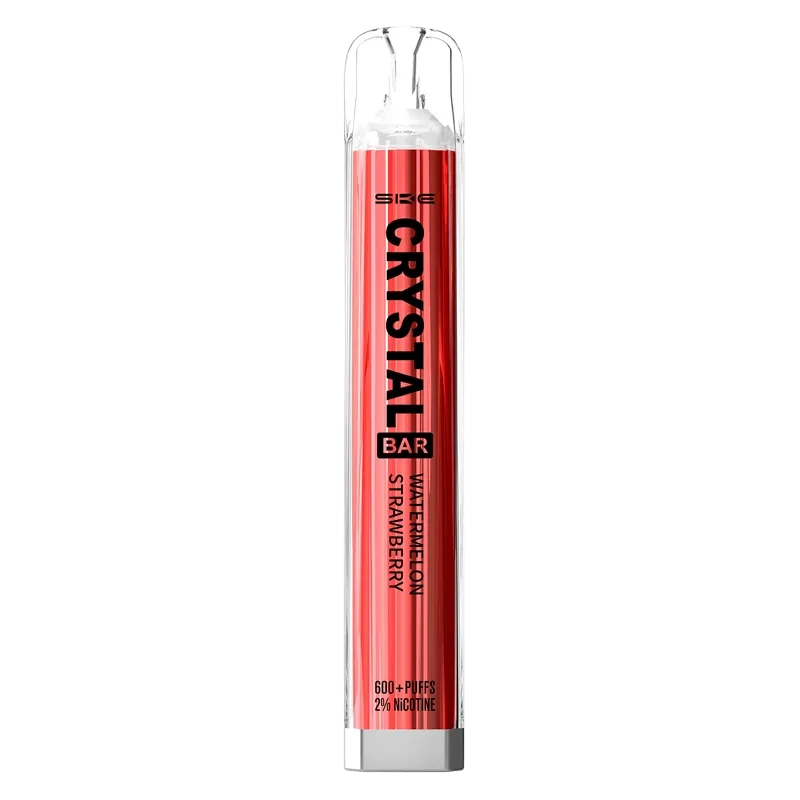
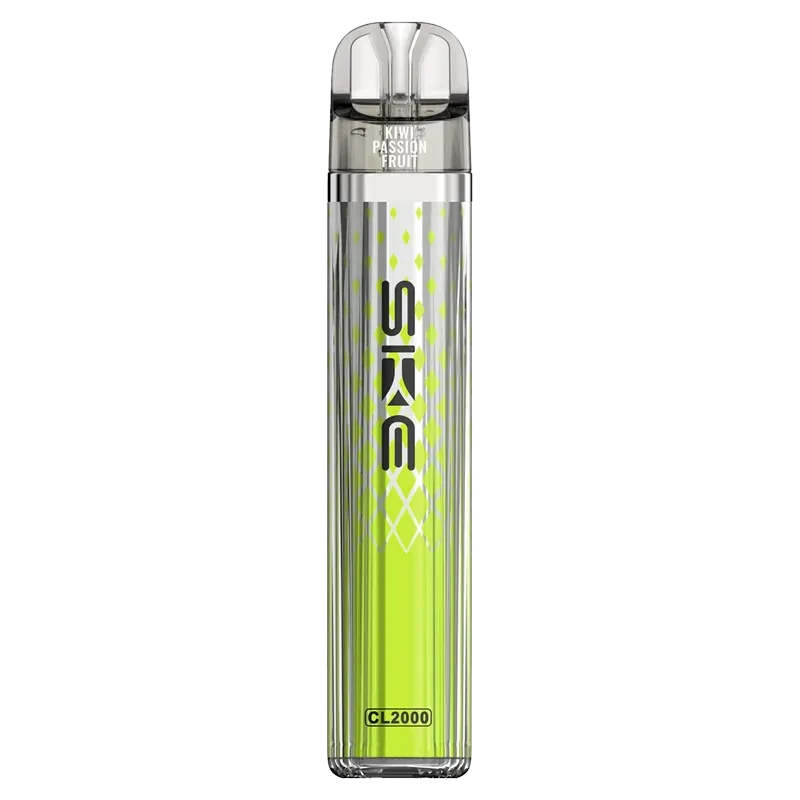
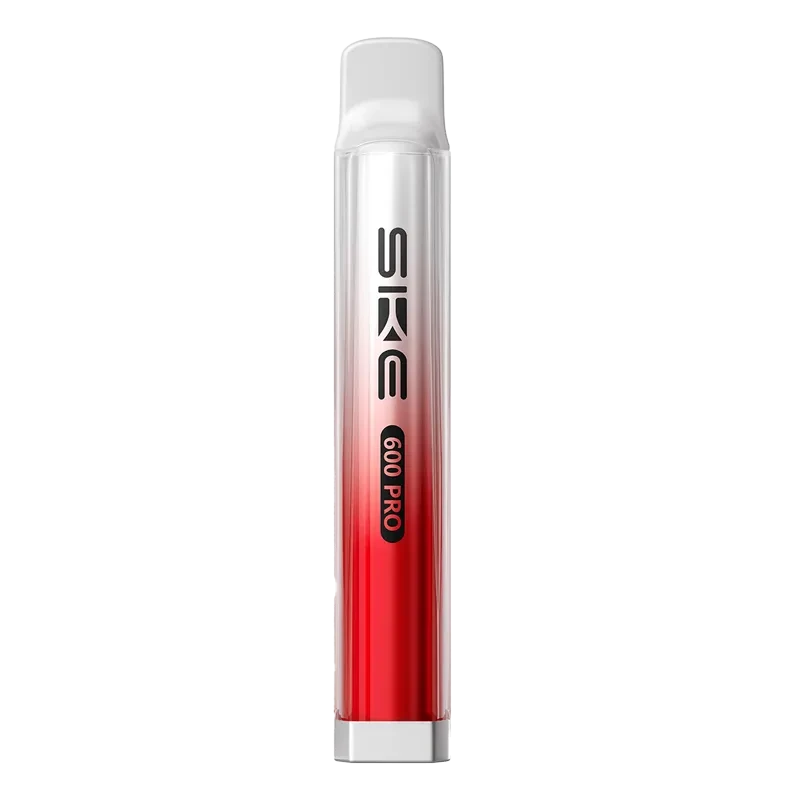
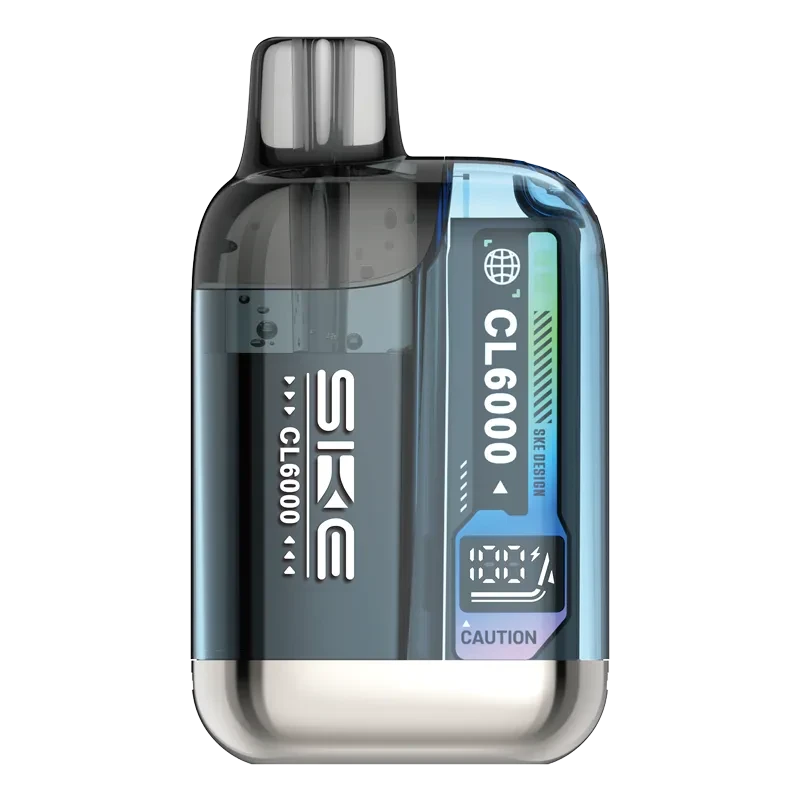
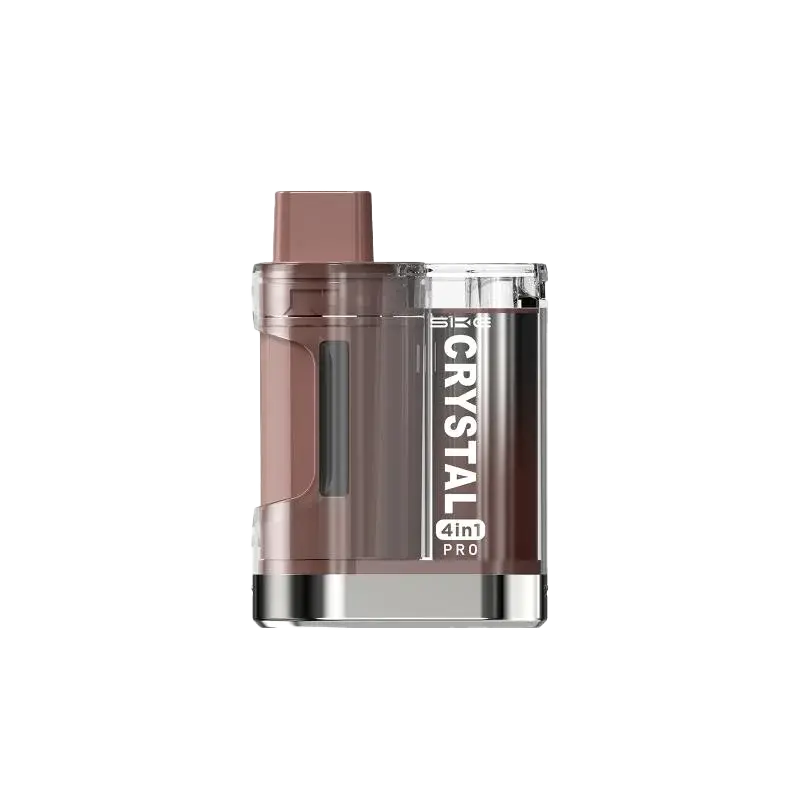
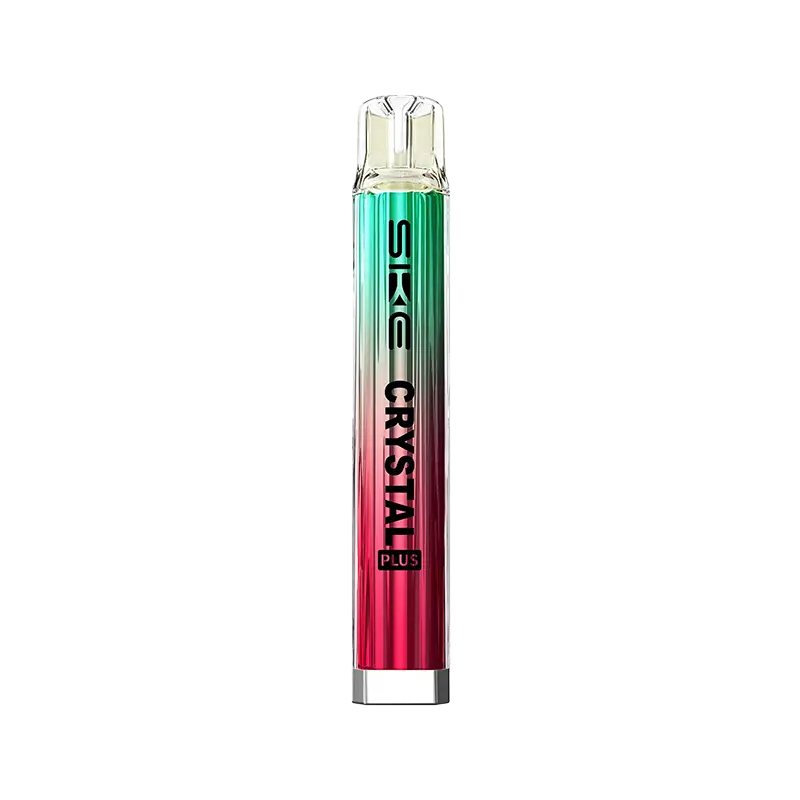
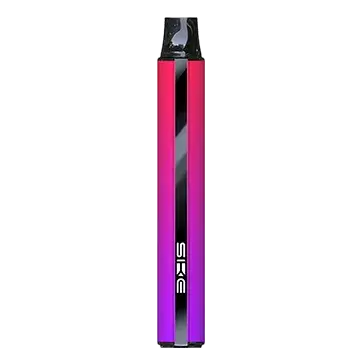
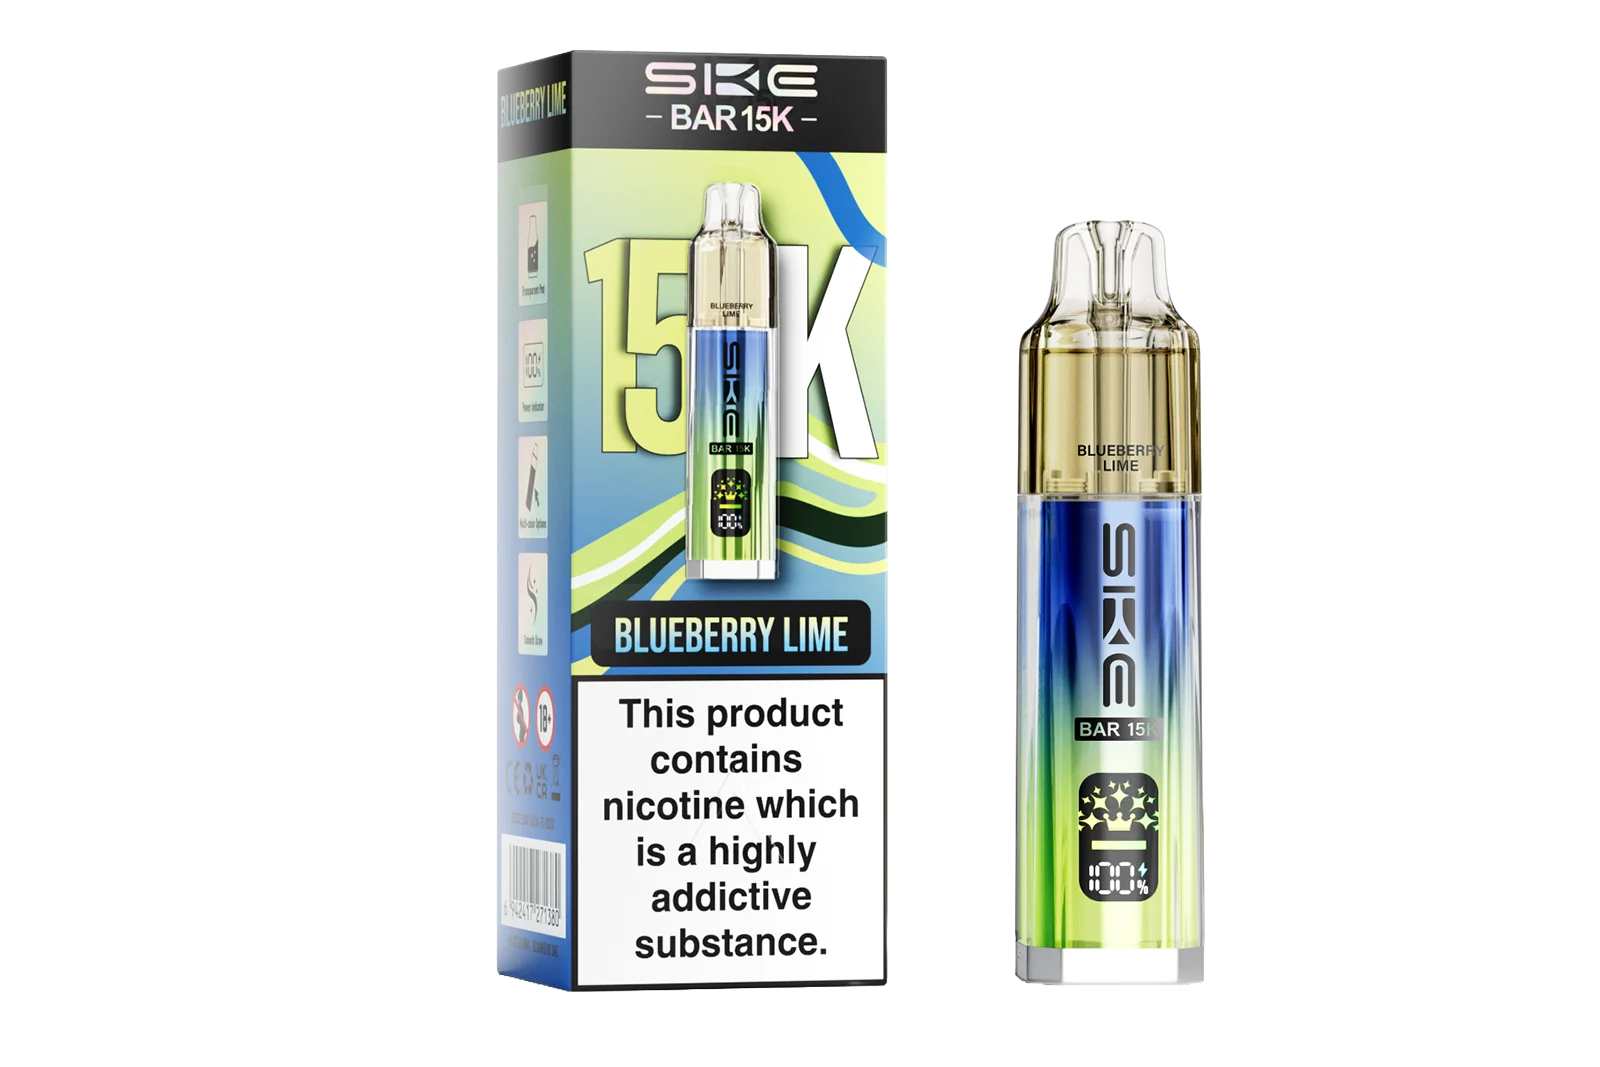
While coil resistance might seem complex at first, understanding the basics of ohms can empower you to curate your ideal vaping setup. Sub-ohm coils, such as those you might find in devices like the SKE Crystal Bar, deliver massive vapor and are perfect for cloud chasers, while higher resistance coils maximize efficiency and flavor for those who prefer a more traditional drag. Matching the right wattage to your ohm rating is crucial for optimizing your experience. Vaping is all about customization, and with versatile products like the SKE Crystal Bar, you have the freedom to experiment until you find that perfect ohm sweet spot!
Frequently Asked Questions
Q1: What Ohm rating should I choose?
A: Choose lower sub-ohm coils below 1 ohm if you want massive clouds. Go with higher resistance coils above 1 ohm for better flavor and efficiency. Try both to see which you prefer!
Q2: What happens if I use the wrong Ohm rating?
A: Using a higher ohm rating than recommended can lead to a less satisfying vaping experience. The coil may not heat up sufficiently, resulting in low vapor production and weak flavor output. The underperformance can cause inconsistent flavor, as the e-liquid isn’t effectively vaporized.
On the other hand, using a lower ohm rating than designed can have more severe consequences. The coil may draw too much power, leading to overheating, a burnt taste, and an unpleasantly harsh throat hit. The increased power consumption can drain your battery more quickly, reducing its lifespan and posing potential safety risks, such as overheating or, in extreme cases, battery venting or explosion. Firing with too low a resistance can also damage your vape mod’s internal components and cause the coil to burn out faster, generating more frequent replacements and added costs.
Q3: Can I change the Ohms on my vape?
A: No, the ohm rating is fixed based on the coil you install in your atomizer/tank. You would need to switch coils to change resistance, you can't alter it directly.
Q4: How do I know the Ohm rating of my coil?
A: Check the coil itself or its packaging for the printed ohm rating. You can also consult your vape's manual or the manufacturer's specs online for your device's compatible coil resistances.
Read More
TABLE OF CONTENTS
- What Are Ohms?
- How Do Ohms Affect My Vape?
- Low Ohm (Sub-Ohm) vs. High Ohm Vaping
- Finding the Right Wattage Based on Resistance
- Ohm Terminology Cheat Sheet
- Choosing the Best Coil Resistance Type for You
- How to Change Ohms on A Vape
- 1. Use a Different Coil
- Step 1: Check Compatibility
- Step 2: Choose Your Coil
- Step 3: Replace the Coil
- Step 4: Prime the Coil
- Step 5: Adjust Settings
- 2. Using a Rebuildable Atomizer (RDA/RTA)
- Step 1: Select Wire Type
- Step 2: Choose the Wire Gauge
- Step 3: Wrap the Coil
- Step 4: Measure Resistance
- Step 5: Install the Coil
- Understanding Ohms Unlocks Your Ideal Vaping Experience
- Frequently Asked Questions
- Q1: What Ohm rating should I choose?
- Q2: What happens if I use the wrong Ohm rating?
- Q3: Can I change the Ohms on my vape?
- Q4: How do I know the Ohm rating of my coil?
- Read More

