What Does Voltage Mean on a Vape?
11/7/2023, 2:27:02 PM 4878
Vaping has exploded in popularity over the last decade, with millions of people using e-cigarettes and Crystal Bar vape pens to quit smoking traditional cigarettes. But if you're new to vaping, all the technical jargon can be confusing. One term you'll frequently see is "voltage" - but what does voltage mean on a vape?? This comprehensive guide will explain voltage as it relates to vapes and how it impacts your vaping experience.
Understanding Electrical Voltage Basics
Before we dive into voltage specifically for vaping, let’s do a quick Electrical Voltage 101. Voltage is a measure of the "electrical pressure" that pushes electricity through a circuit. It’s measured in volts and represented by the letter "V". The higher the voltage, the stronger the electrical force.
For example, a standard AA battery has 1.5V, while a 9V battery (the rectangular ones you probably remember from science class) has, you guessed it, 9V. When it comes to vaping, voltage levels typically range from 3V to 6V.
How Voltage Works in Vapes
So how does this apply to vaping? Well, vapes work by heating a metal coil in order to vaporize e-liquid (aka vape juice). The voltage from the battery is what provides the power to heat that coil.
The amount of voltage impacts both the wattage (heating power) as well as the temperature of the coil. Higher voltage = a hotter, more intense vape. Lower voltage = a cooler, less vaporous hit.
Variable Voltage vs. Fixed Voltage
There are two main types of voltage you’ll see when shopping for vapes:
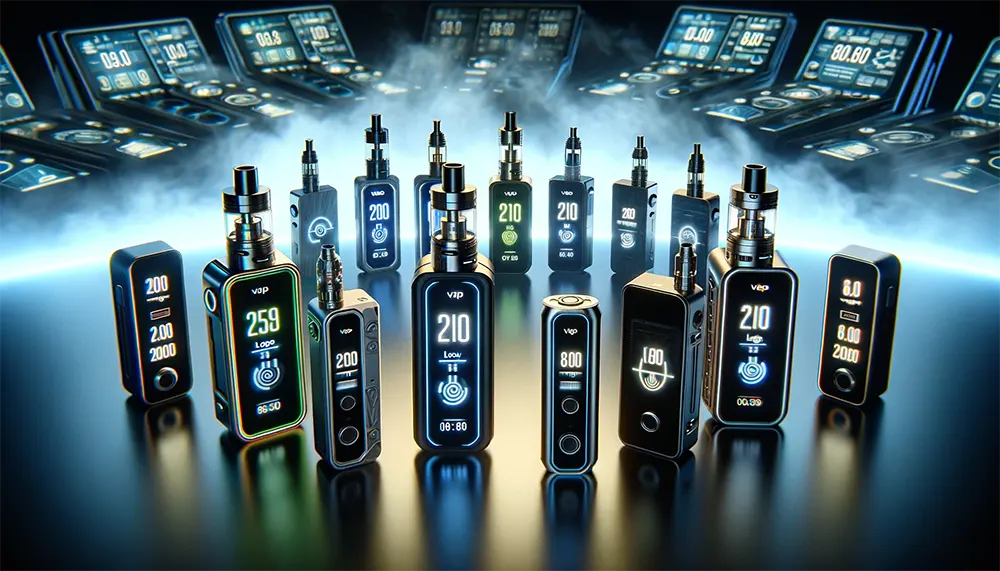
Variable Voltage
As the name suggests, these devices allow you to adjust the voltage level manually, usually within a range like 3V to 6V. This gives you control over the intensity of your vape. Generally, the higher the voltage, the hotter and harsher the vapor. Lower voltage provides a cooler, smoother hit.
Being able to play with the voltage lets you tweak your vape to find your ideal settings. Variable voltage (VV) devices also let you match the voltage to the specific resistance (measured in ohms) of your atomizer coil. We’ll get into that more in a bit.
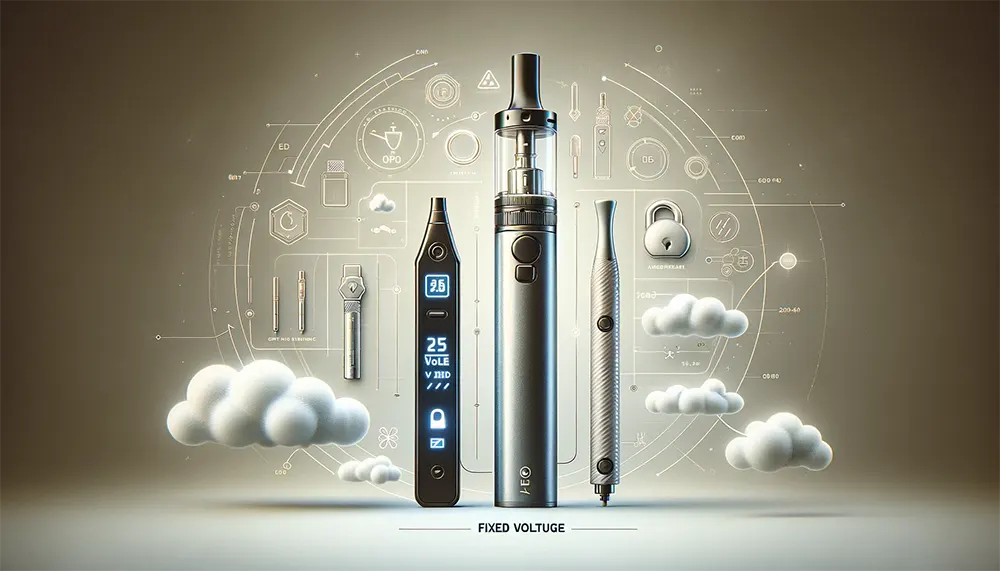
Fixed Voltage
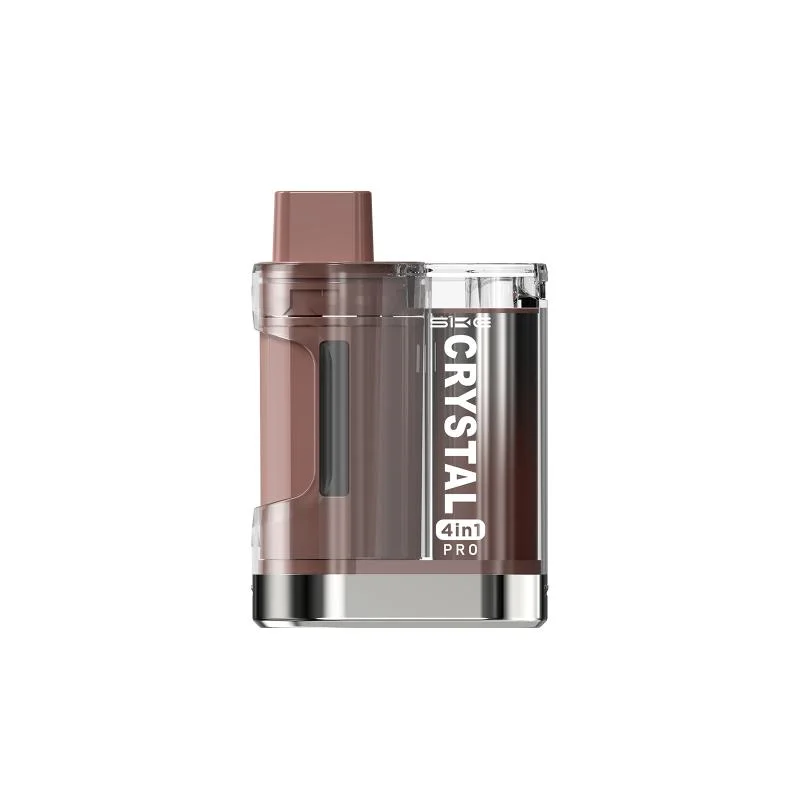
In fixed voltage devices, the voltage is preset and cannot be adjusted by the user. Some vape pens often have a fixed 3.6V output, for example, the SKE Strip Bar and SKE Icon Bar. This makes operation easy, especially for newer vapers. But the drawback is you have less customization of your vape intensity.
How Does Voltage Affect Vape?
how does voltage affect vape The voltage level ultimately determines the power output as well as the heat of the coil inside your vape. This has a direct impact on your vaping experience:
Vapor Temperature
Higher voltage heats up your vaping coil more, producing hotter vapor. This can sometimes be harsh on the throat if it's too warm. Lower voltages around 3V create a cooler vapor that many vapers find smoother.
Vapor Production
More voltage = more vapor, generally speaking. Higher voltage powers a hotter coil, vaporizing your e-liquid faster and giving those dense, billowing clouds many vapers love. Just beware higher voltages drain your battery quicker.
Throat Hit
This is the intensity and “punch” you feel when inhaling vapor into your throat and lungs. Voltage plays a big role here. Higher voltage packs a more intense throat hit, which can feel harsh and irritating if too strong. Lower voltages provide a gentler throat hit.
Flavor
Some vapers claim high voltage intensifies flavor, but it usually comes at the expense of a harsher throat hit. So you have to find a nice balance for optimized flavor and smoothness. Typically medium voltages around 4V provide the best experience.
As you can see, the voltage level has a big impact on your vaping experience. Let’s look closer at wattage and resistance next, which also tie closely to voltage.
Voltage and Wattage Explained
Wattage (or watt output) and voltage are directly connected when it comes to vaping. Wattage determines how strongly your coil heats up and is measured in "watts" (abbreviated as W).
It's calculated by multiplying the voltage by the current (amperage):
Wattage = Voltage x Current
So for example, a vape with 4V and 5A would be:
Wattage = 4V x 5A = 20W
Adjustable-wattage mods let you directly control the wattage output, which changes the heating power going to your coil. More watts = more vapor.
Many variable voltage (VV) devices also allow you to adjust wattage. When you change the voltage on these, the wattage output will rise or fall accordingly. On regulated mods, you can adjust either voltage or wattage to control vapor production.
Electrical Resistance for Vaping
Now let's get into the third factor - electrical resistance, measured in ohms and represented by the Greek omega symbol (Ω).
Resistance determines how much opposition to electrical current there is in the vaping circuit. It stems from the metal alloy used in the heating coil and can vary widely.
Typical vape tanks have resistances ranging from 0.5 ohms to 3 ohms. Rebuildable dripping atomizers allow even lower resistances, even down to 0.15 ohms for extreme sub-ohm vaping.
Matching the voltage and wattage to the resistance is key for the best vape. Here’s a quick primer on resistance:
Lower resistance: Heats up faster and produces more vapor. Best for higher voltage/wattage. But drains the battery quicker.
Higher resistance: Requires less power to heat up. Better for lower voltage/wattage. Easier on batteries.
Sub-ohm: Coils under 1-ohm resistance. Allows higher power with more vapor. But needs stronger batteries and e-liquid with more VG.
Now let’s put voltage, wattage, and resistance together to see how they interact.
Finding Your Ideal Voltage Based on Resistance
On variable voltage/wattage mods, you can dial in the perfect settings for your particular atomizer coil by matching the voltage and wattage to the resistance.
As a general guideline:
- 1.0-1.5 ohm atomizers: Ideal around 3.3V to 4.2V, 10W to 15W
- 1.5-2.0 ohm atomizers: Best around 3.3V to 4.8V, 8W to 11W
- Sub-ohm atomizers: Require higher power of 4.2V to 6V, 15W or more
The resistance limits for your particular device are usually stated in its specs or manual. Exceeding these can risk damaging your vape or battery.
For ultimate customization, use an ohms law calculator to dial in the perfect voltage for your coil’s resistance and your preferred vaping style.
Variable Voltage Safety Tips
While allowing more customization of your vaping experience, variable voltage devices do come with some safety considerations:
- Don’t exceed the voltage or resistance limits specified for your device. This can damage your vape or battery.
- Use the proper batteries specified by the manufacturer, such as high-drain 18650s for mods.
- Check battery voltage regularly as over-draining can damage batteries.
- Never vape with damaged batteries - replace them immediately.
- Keep batteries away from heat and enclosed spaces like pockets. Heat damages batteries.
Follow the manufacturer’s guidelines when using variable voltage mods and always put safety first!
Pros and Cons of Variable Voltage Vaping
Let’s do a quick rundown of the key advantages and disadvantages of variable voltage vaping:
Pros:
- Lets you fine-tune voltage/wattage to personal vaping style
- Can match voltage perfectly to any resistance coil
- Provides option for higher power sub-ohm vaping
Cons:
- More advanced so not for vaping newbies
- Requires external high-drain batteries
- Safety risks if settings are input incorrectly
How to Change Voltage on a Vape Pen?
Changing the voltage on your vape pen might sound like a small tweak, but it’s the key to customizing your vaping experience. Whether you’re chasing denser clouds, sharper flavors, or a smoother draw, adjusting the voltage puts you in the driver’s seat.
1. Check If Your Vape Pen Has Variable Voltage
Look for terms like "variable voltage" in your device's manual or packaging since not all vape pens allow voltage adjustments. Some have fixed outputs, while others offer adjustable dials or button-controlled settings.
2. Power On Your Device
Most vape pens require turning them on before adjusting settings to prevent accidental changes. Usually, it involves pressing the power button five times in quick succession. Did it blink? You’re good to go.
3. Locate the Voltage Control Mechanism
Depending on your vape pen model, the voltage control could be:
- A Dial or Wheel: Turn it to increase or decrease voltage. Think of it like tuning a radio.
- Button Press Combinations: Pressing the power button multiple times (usually three) might let you cycle through preset voltage levels. Look for indicators like color-coded LED lights (e.g., green for low, blue for medium, and red for high).
- Touch Screen or Display: You might find a digital screen on advanced devices. Tap or swipe to adjust voltage to a specific number.
4. Experiment With Settings
Start low and gradually increase the voltage to avoid burning your coil or scorching your e-liquid. If your vapor tastes burnt or feels harsh, dial it back. Too weak? Bump it up a notch.
5. Test and Repeat
Take a puff after each adjustment. Pay attention to the flavor, vapor production, and throat hit. Keep tweaking until it feels just right.
Pro Tips for Voltage Adjustment Success
Know Your Coil’s Limits: Every coil has a recommended wattage range, which correlates to voltage. Exceeding this range may cause damage or shorten its lifespan.
Match Voltage to Your E-Liquid: Thicker liquids (higher VG) often require more power, while thinner liquids (higher PG) perform better at lower settings.
Changing the voltage on your vape pen is more like fine-tuning a guitar. Once you’ve mastered the basics, you’ll unlock a whole new level of control over your vaping experience. So don’t be afraid to experiment, adjust, and find what feels perfect.
Common Beginner Questions about Vaping Voltage
If you’re just getting started with vaping, chances are you still have some questions about how voltage factors into your vape setup. Here are answers to some frequently asked questions beginners have about vape voltage:
1. What Voltage Is Best for Beginners?
Most beginners do best with simpler devices that have a fixed mid-range voltage of around 3.7V to 4V. This provides enough power to produce vapor without being overly complicated.
2. What Voltage Is Easiest on Coils?
Excessively high or low voltages can burn out coils quicker. For the best coil life, stay within the recommended voltage range for your specific coil, usually around 3.3V to 4.2V.
3: What Does Higher Voltage Do on a Vape?
The higher voltage on a vape increases the power sent to the coil, resulting in faster and hotter heating.
Bigger Clouds: The higher heat vaporizes more e-liquid, producing denser and more voluminous clouds.
Enhanced Flavor: Flavors can become more pronounced, as the higher temperature intensifies the taste of your e-liquid. However, too much voltage might burn the liquid and cause a scorched flavor.
Warmer Vapor: A higher voltage provides a warmer vape, offering a fuller and richer throat hit, which some users find more satisfying.
Quicker Nicotine Delivery: Increased vapor production means more nicotine is inhaled with each puff, leading to faster absorption.
While higher voltage offers these benefits, it also accompanies potential downsides like faster coil wear, quicker battery depletion, and higher e-liquid consumption. Please adjust gradually and stay within your device’s recommended voltage range.
4: What Does Low Voltage Mean on a Vape?
Low voltage on a vape refers to a reduced power output sent to the coil, resulting in less heat and a gentler vaping experience. Here’s what it typically implies:
Cooler Vapor: Under less power, the coil produces cooler vapor, making it ideal for those who prefer a milder throat hit or a smoother draw.
Less Vapor Production: Low voltage settings create smaller, less dense clouds, perfect for discreet vaping or those not chasing big vapor production.
Extended Coil Life: Since the coil doesn’t get as hot, it experiences less wear and tear, potentially lasting longer.
Preserved E-Liquid Flavor: Lower temperatures can help preserve the integrity of your e-liquid, preventing it from burning and delivering a cleaner taste.
Battery Efficiency: Operating at low voltage consumes less power, allowing longer vaping sessions between charges.
Low voltage settings are especially beneficial for Mouth-to-Lung (MTL) vapers or those using higher nicotine or nicotine salt e-liquids.
5. Is Variable Voltage Better Than Wattage?
Variable wattage mods directly control the heating power of your coil. VV mods allow more fine-tuning of voltage, but you can achieve a similar effect by adjusting the wattage instead. It’s largely personal preference.
6. How Do I Calculate Voltage and Watts?
Use a free online Ohm’s Law calculator to determine the voltage, wattage, and amp draws for your particular resistance coil. This ensures you stay within safe limits for both your vape device and batteries.
Hopefully, this guide gave you a better understanding of what voltage means when it comes to vaping. The key takeaways are:
- Voltage impacts vape heat, vapor production, flavor, and throat hit.
- Variable voltage devices allow customizing voltage to your vaping preferences.
- Matching voltage to your coil resistance gives optimal results.
- Beginners do well starting with a fixed mid-level voltage of around 3.7V to 4V.
- Adjust voltage and wattage within the safe limits of your device and batteries.
While it may seem complicated at first, playing with voltage settings allows expert vapers to dial in a personalized vaping experience. But even beginners can get great results from simple fixed-voltage devices. So get out there and start enjoying those vapor clouds!
FAQs About Vape Voltage
Q1: What Is a Good Voltage for a Vape?
The ideal voltage for a vape depends on your device, coil type, and personal preferences. Here’s a general guide:
- Standard Ranges: Most vape pens operate best between 3.3V and 4.8V, balancing between flavor and vapor production.
- For Beginners: Start on the lower end (around 3.3V) for a smoother experience, especially if using higher nicotine e-liquids or thinner liquids (higher PG ratios).
- For Flavor Chasers: A voltage between 3.7V and 4.2V tends to enhance flavor while maintaining smoothness.
- For Cloud Chasers: Higher voltages (closer to 4.5V or more) create more heat and vapor for those chasing big clouds but may reduce coil lifespan.
Q2: What Does 3.3V Mean on a Vape Pen?
When your vape pen is set to 3.3 volts (V), it refers to the amount of electrical power delivered to the coil. Here's what this setting typically means:
- Lower Power Output: At 3.3V, the coil heats up more gently, producing cooler vapor and a smoother throat hit. It's ideal for beginners or those using higher nicotine e-liquids to avoid harshness.
- Subtle Flavor and Vapor: The flavor may be milder, and vapor production less dense compared to higher voltage settings, but it’s still effective for satisfying hits without overwhelming the user.
- Extended Coil and Battery Life: Operating at a lower voltage helps preserve your coil, e-liquid, and battery, as less energy is consumed per puff.
The 3.3V voltage setting is great for Mouth-to-Lung (MTL) vaping or those who prefer a more relaxed, steady experience. It's a solid starting point for experimenting with what works best for you.
Q3. Will Higher Voltage Burn out My Coils Faster?
Excessively high voltages beyond a coil's rating can burn them out quicker, as can very low voltages. Stay within recommended ranges for optimal coil life. Priming coils properly also helps them last.
Q4. Is Using Too High or Too Low Voltage Dangerous?
As long as you're within the safe operating limits for your device, battery, and coils, adjusting voltage is not dangerous. But extreme voltages outside specs can damage your vape.
Q5. How Often Should I Change My Vape Voltage?
Test out different voltages when using a new coil to find the sweet spot, then stick with those settings until you change coils or flavors. No need to constantly adjust voltage otherwise.
Q6: What Is the Best Setting for a Vape?
The best setting for your vape depends on your preferences, device type, and e-liquid. There’s no one-size-fits-all answer, but here are some guidelines to help you find your sweet spot:
- For Beginners: Start with lower wattage (around 10–20W) or voltage (around 3.3–3.7V) for a smooth and mild experience, especially if you’re using high-nicotine or nicotine salt e-liquids.
- For Mouth-to-Lung (MTL) Vaping: Keep the wattage around 10–15W or voltage below 4V for tighter draws, cooler vapor, and a subtle throat hit.
- For Direct-to-Lung (DTL) Vaping: Wattage between 40–70W or voltage around 4–5V is typical for DTL vaping with sub-ohm coils to produce larger clouds and warmer vapor.
- For Flavor Enthusiasts: Medium wattage settings (e.g., 15–30W) or voltage between 3.7–4.2V often deliver the best balance between vapor production and flavor intensity.
- For Cloud Chasers: Use higher wattage (e.g., 70W+) or voltage above 4.5V with sub-ohm coils designed for massive vapor production.
Reference: Volts, Watts and Ohms – how do they affect the e-cigarette experience


